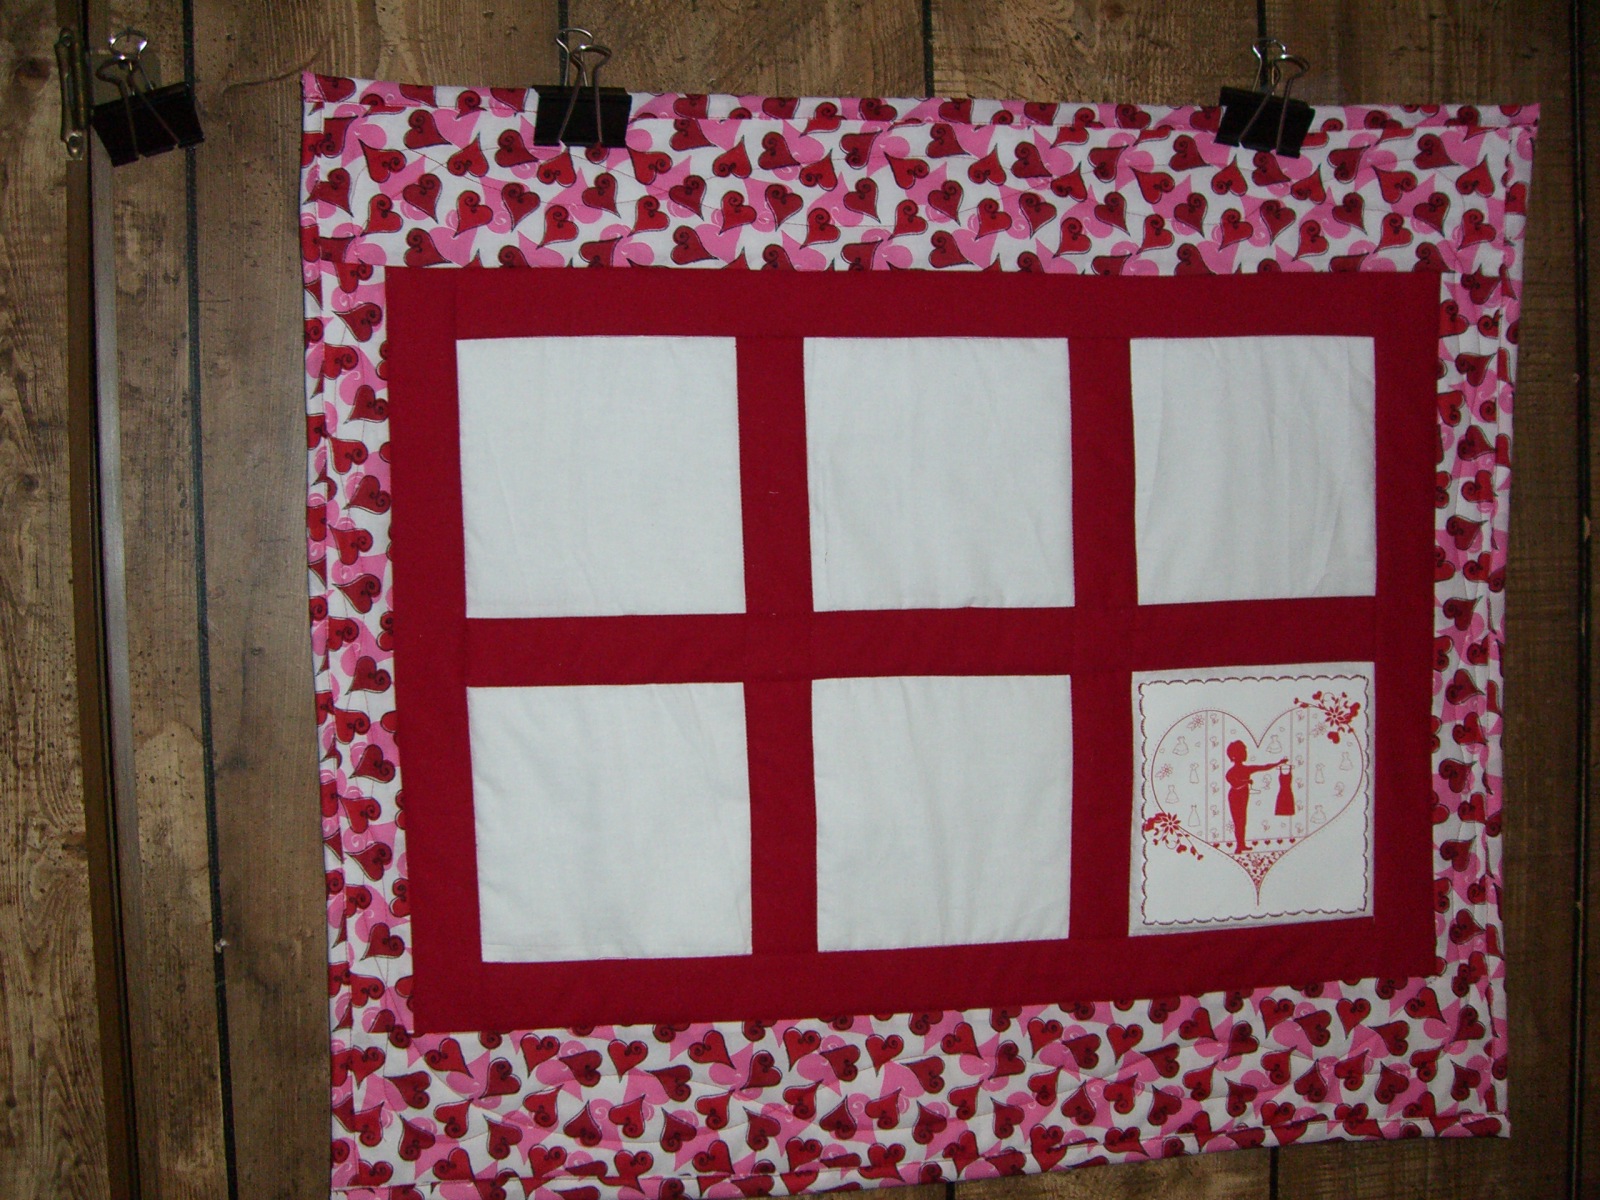
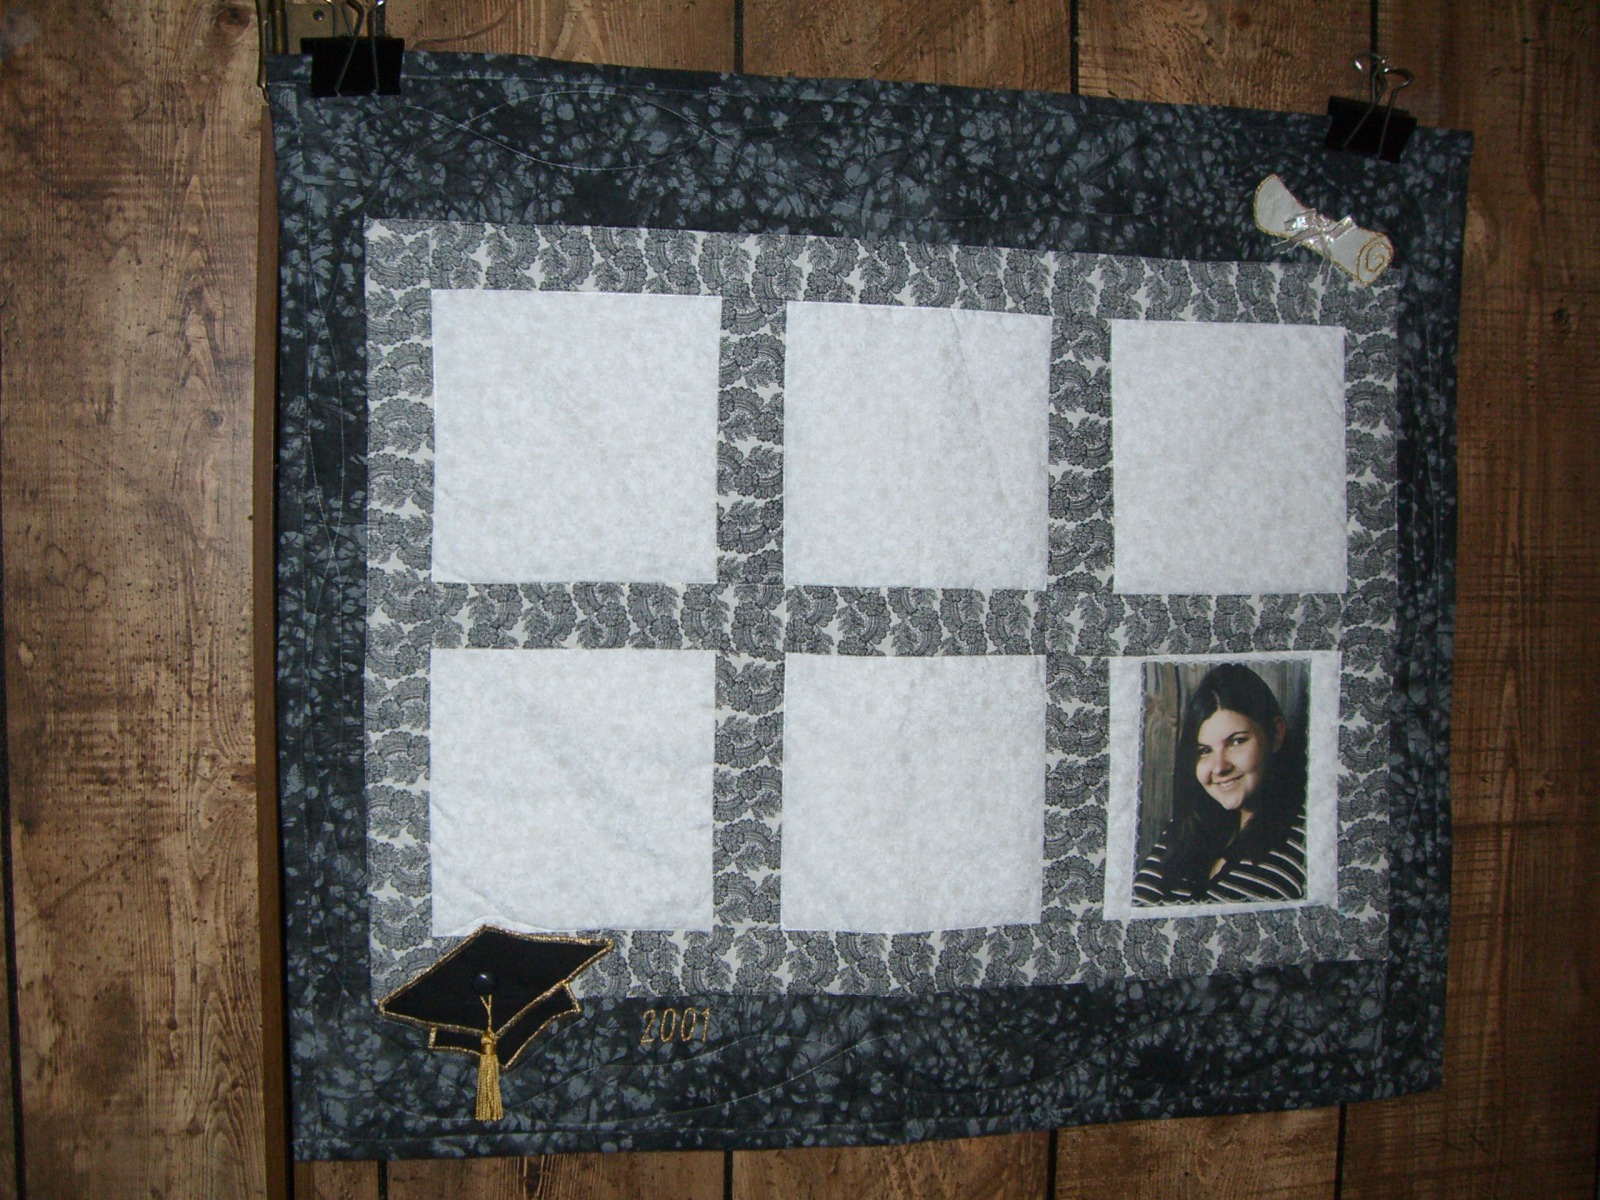
FREE PATTERN! Custom Photo Memory Quilt
The perfect gift idea and easy to make! Include a permanent marking pen to make this a great autograph quilt. Add a Photo Pillow as a perfect coordinate to the quilt- Click on Photo Pillow at left for full instructions. Don't forget that special Graduate!
To view more Quilt samples and get ideas Click Here. Please feel free to email with any questions you may have or to Special Order a Personalized Memory Quilt in any size, for any occasion!
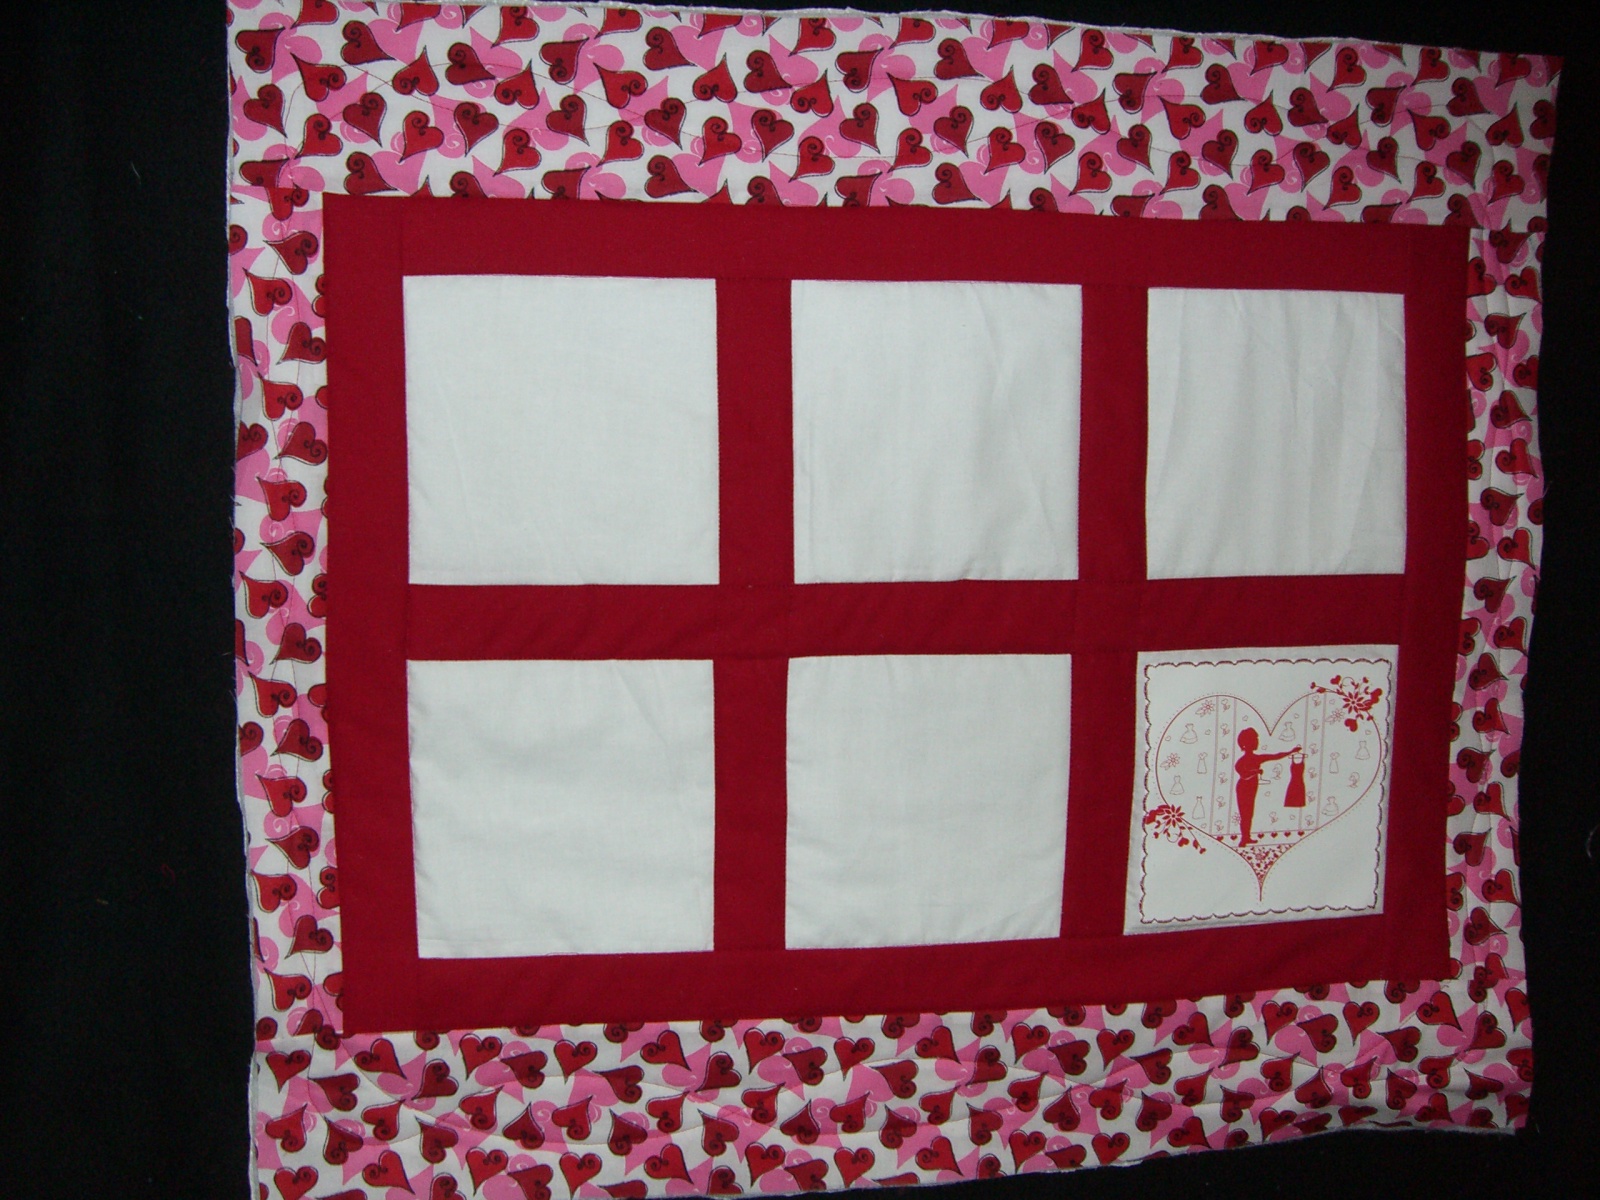
Photo Memory Quilt
Finished Quilt Size: 27 ½” x 24”
Materials Needed:
¼ yard White or Off-White fabric for Photo blocks
1/3 yard fabric for Inside Border (Sashing)
½ yard fabric for Outside Border and Binding
1 Package June Tailor Quick Fuse Photo Transfer Sheets
7/8 yards each Thin Batting and fabric for quilt back
Thread to match for quilting
Cutting Directions: Note: wof = width of fabric (usually 44”- 45” wide)
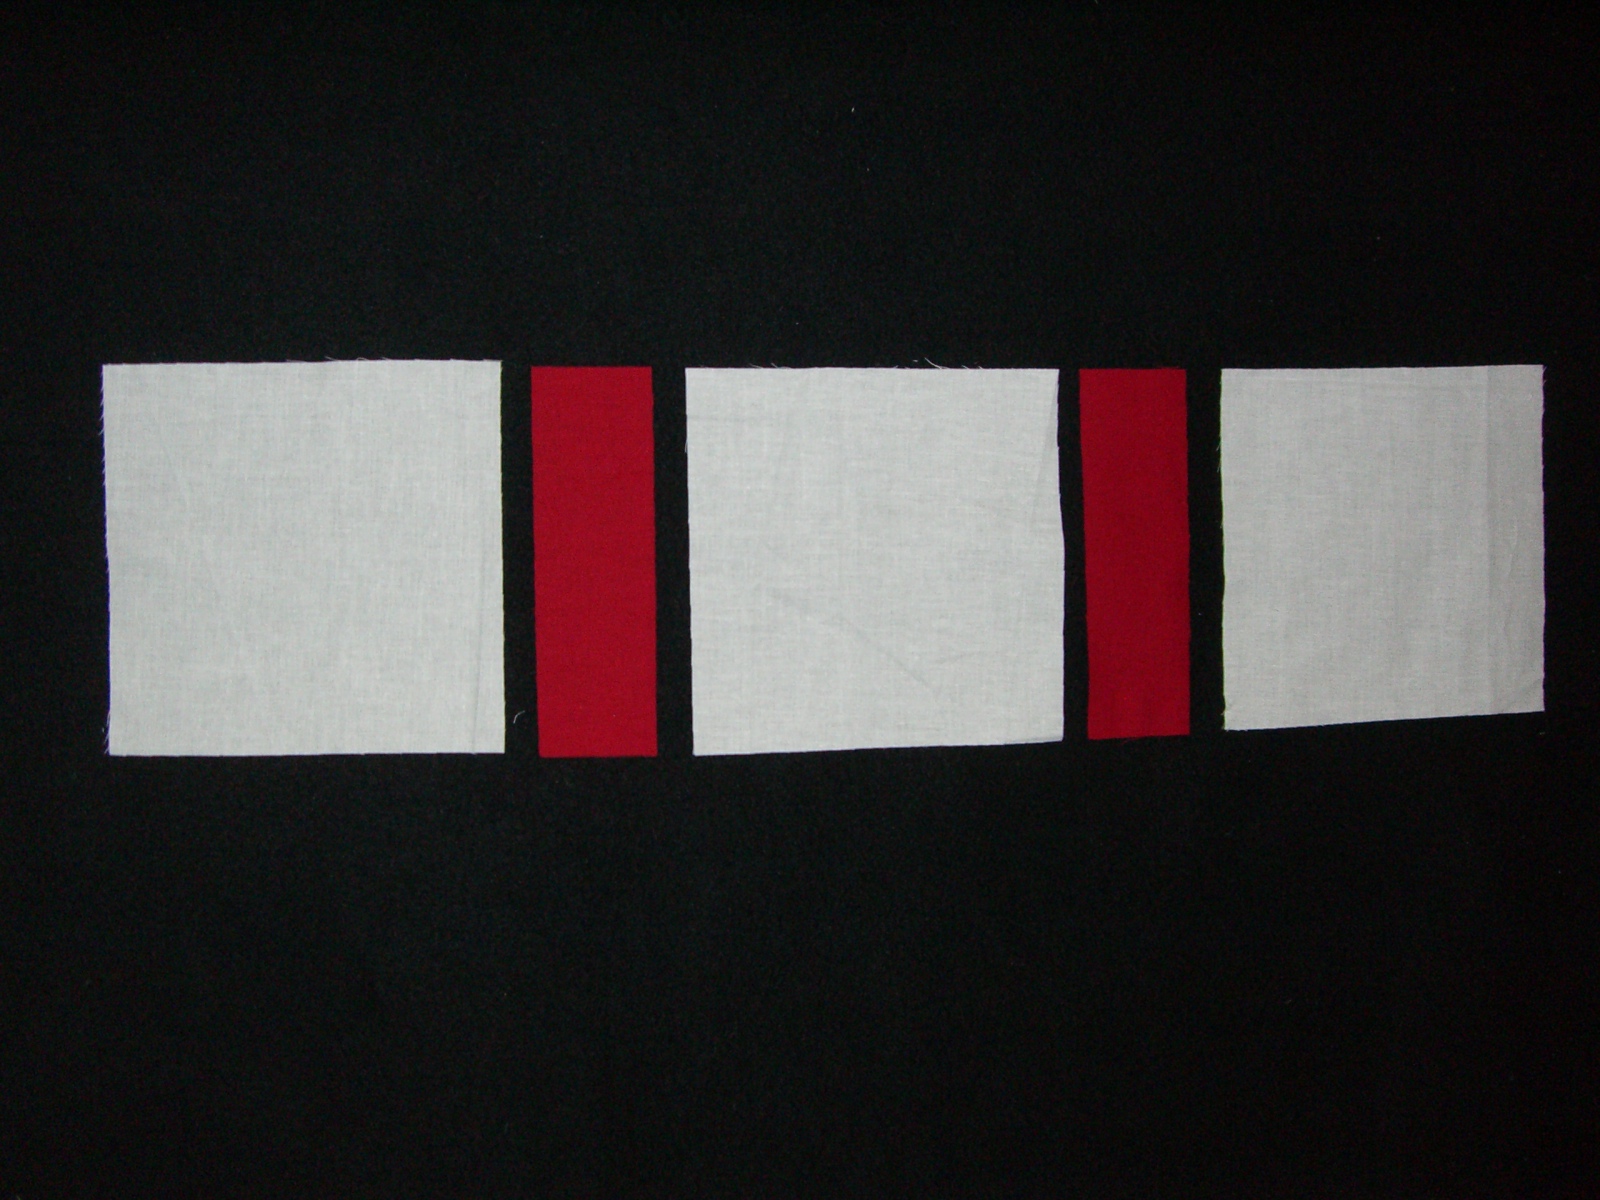
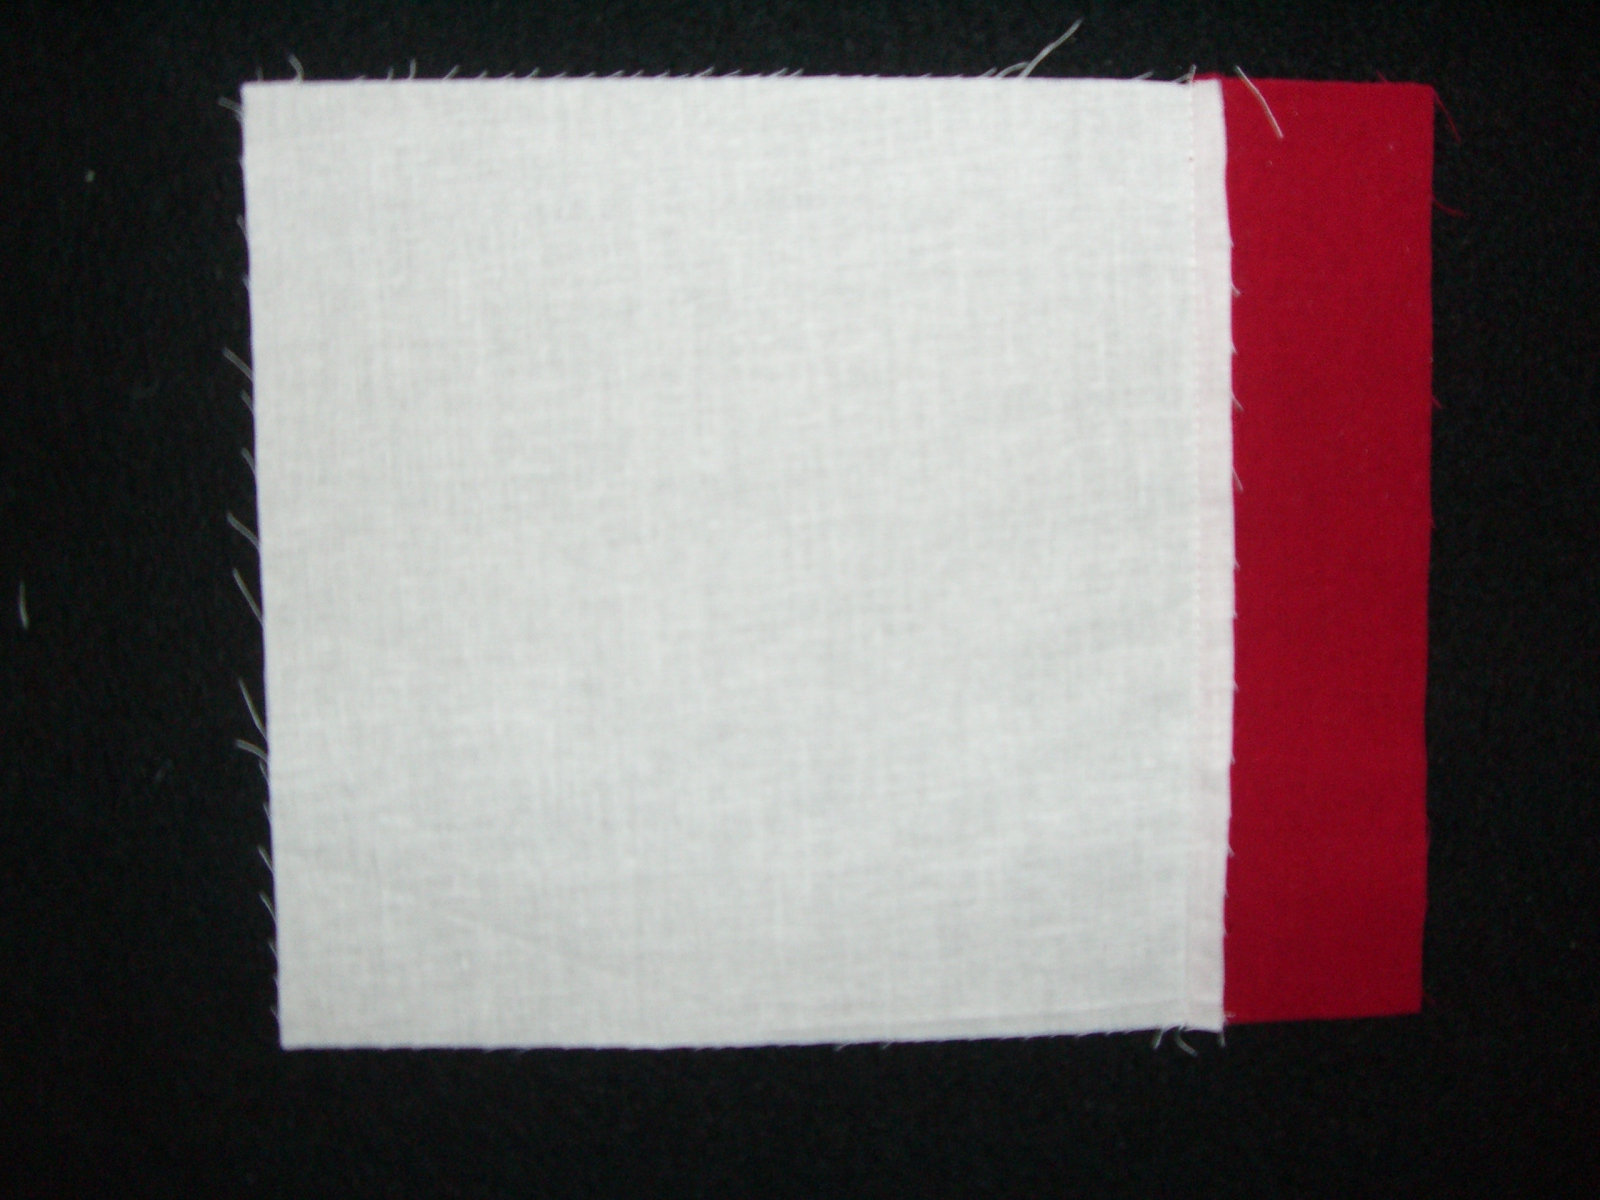
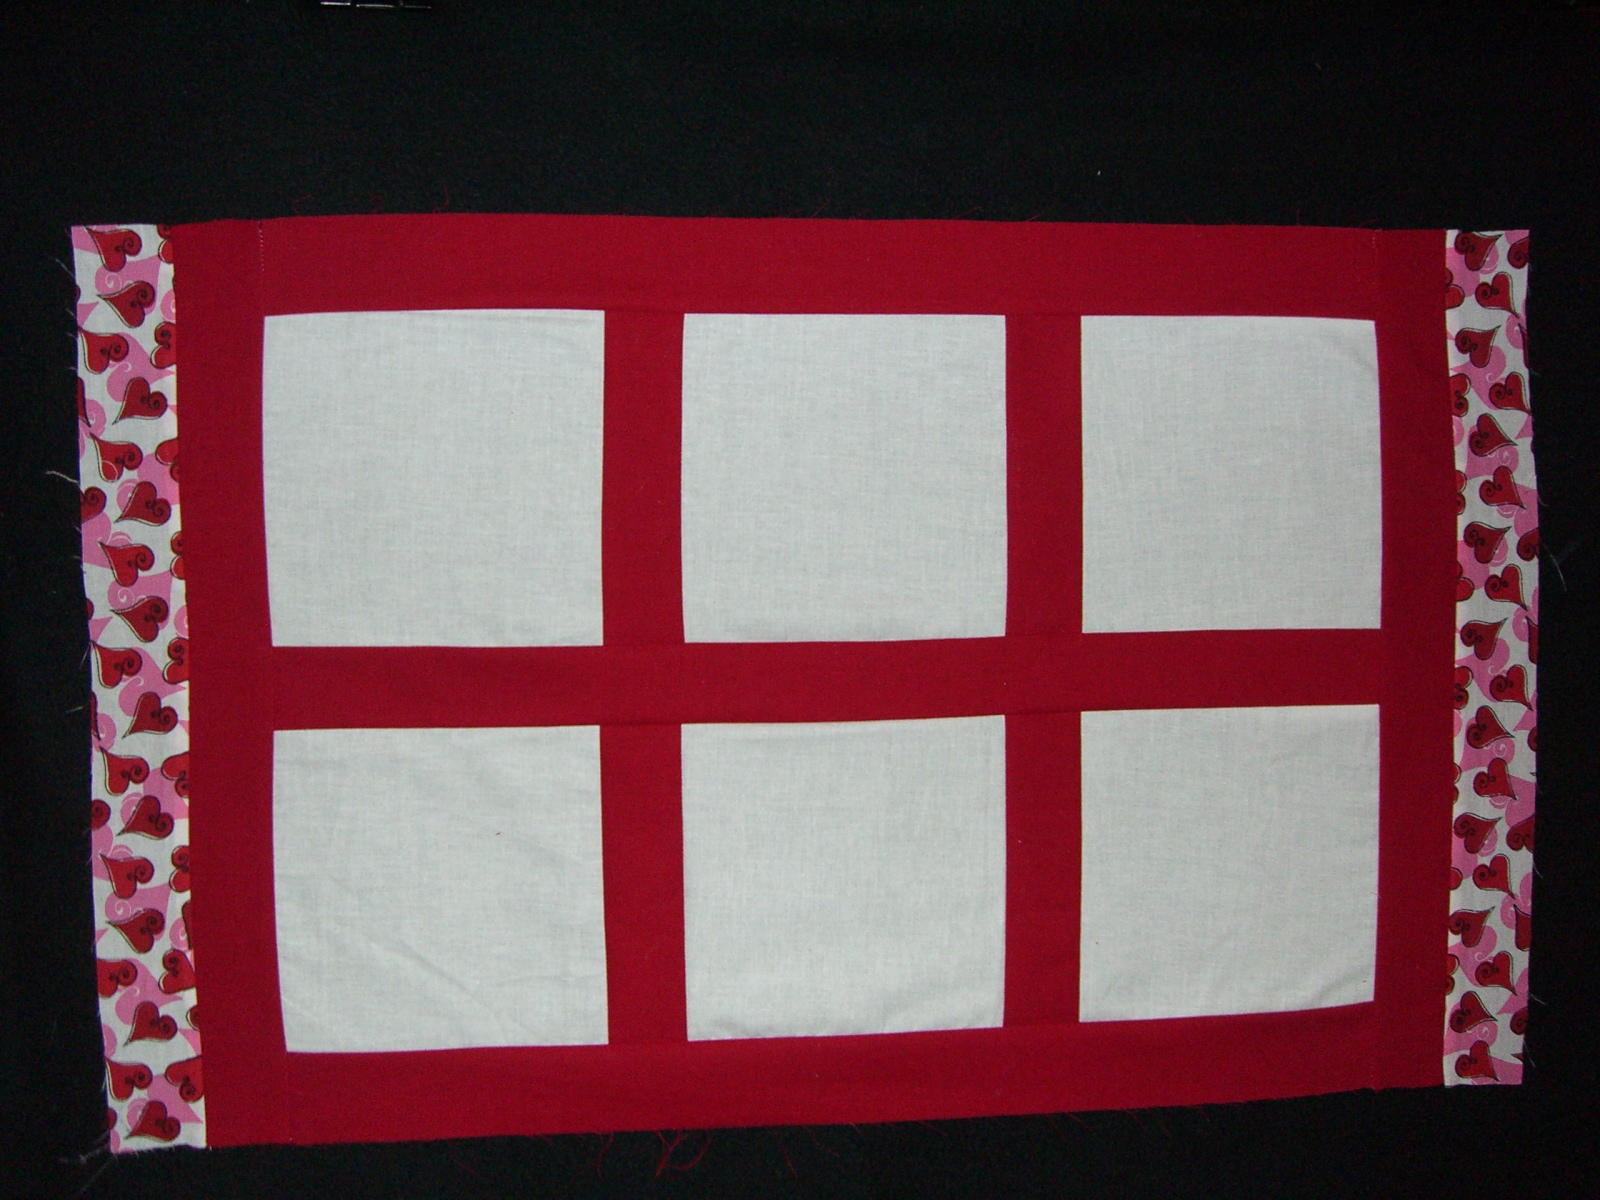
From the Photo Block fabric- Six Squares measuring 6 ½” each
From the Inside Border Fabric- Five strips measuring 2” x wof.
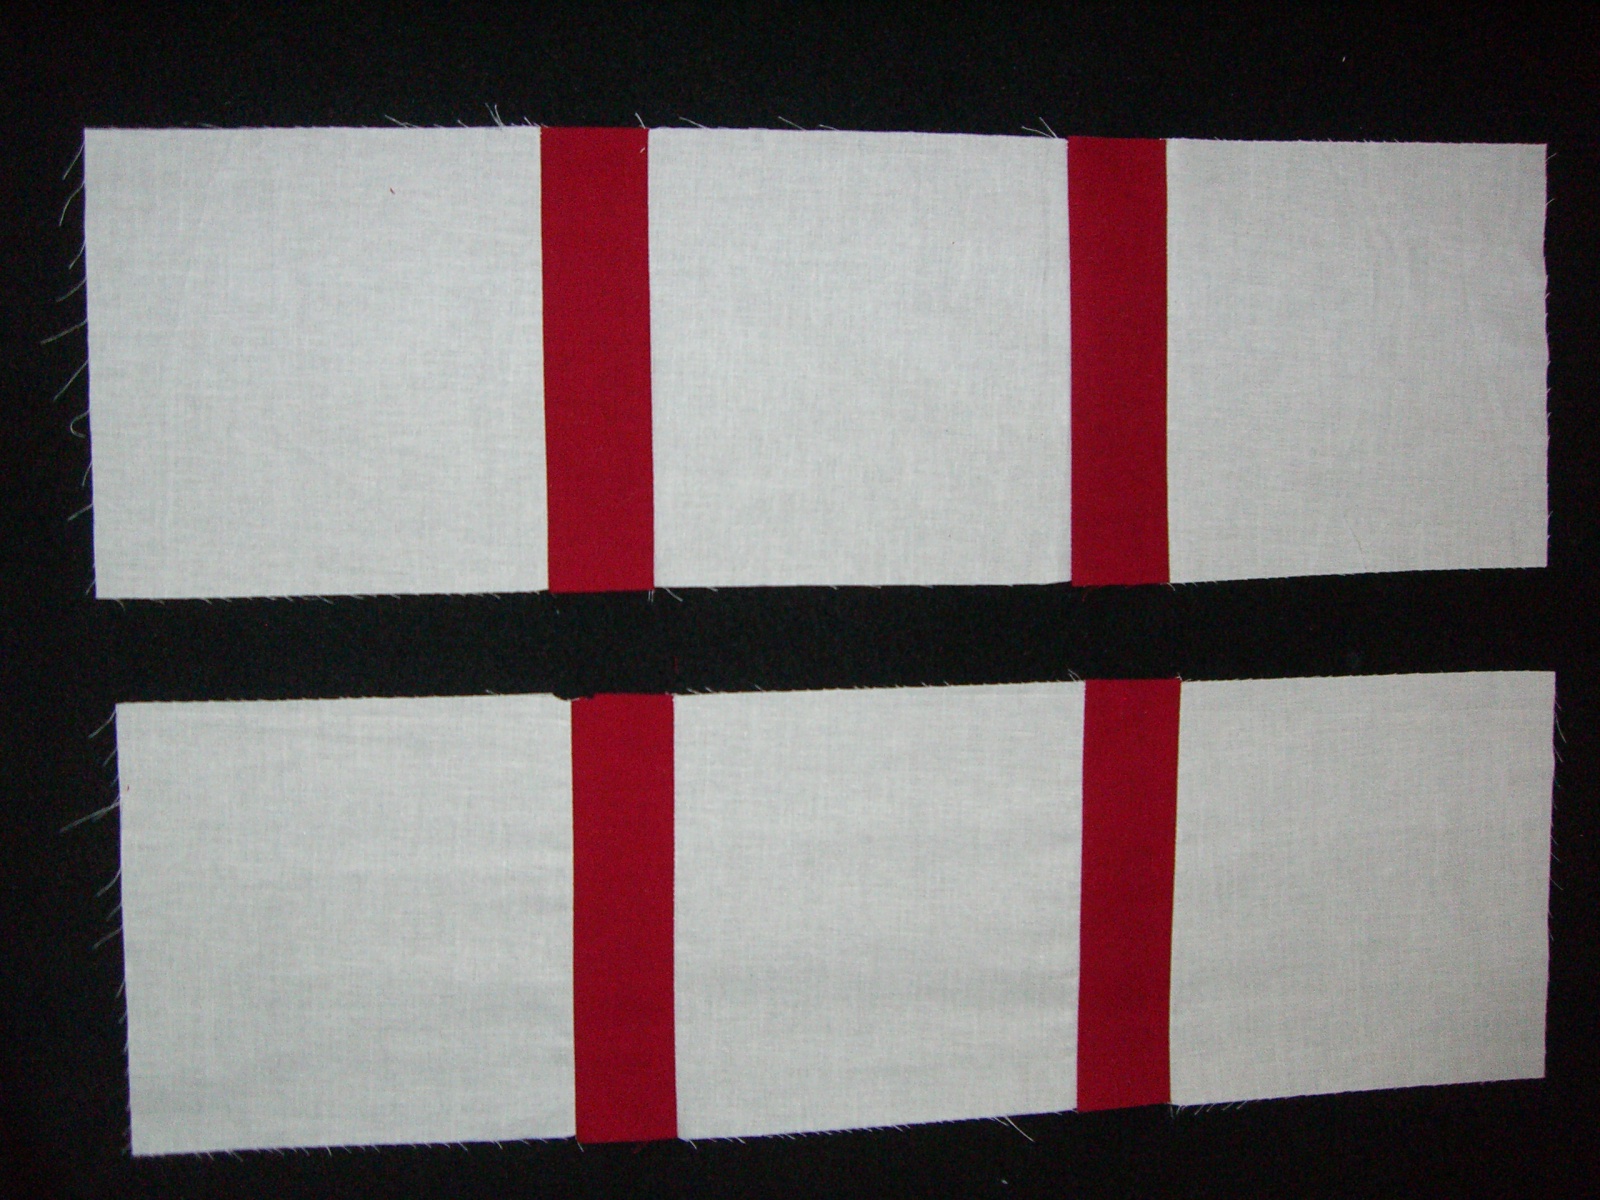
Recut into four strips 2” x 6 ½”, three strips 2” x 21 ½” and two strips 2” x 17”
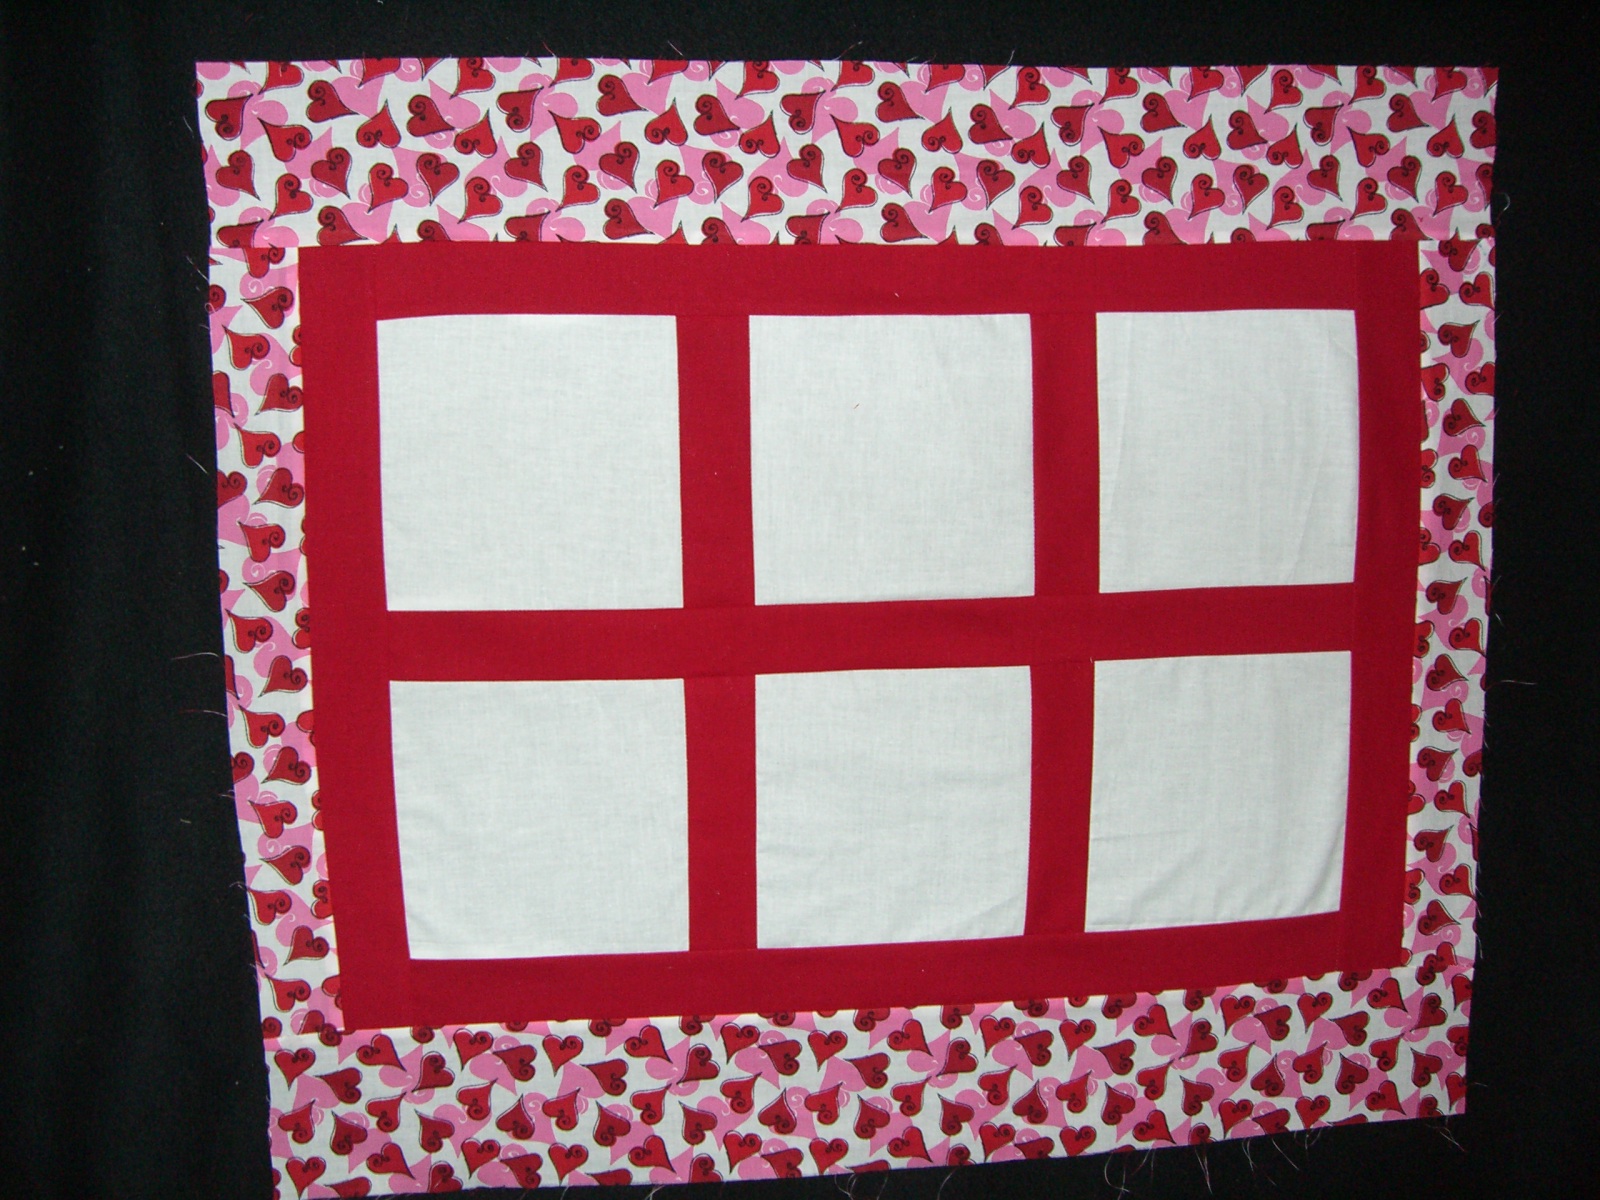
From the Outside border fabric- one strip 2” x wof, recut into two strips 2” x 17”.
Two strips 4” x wof, recut into two strips 4” x 27 ½”. Four strips (for Binding)
1 ½” x wof, recut into two strips 1 ½” x 26” and two strips 1 ½” x 32”.
From the Batting and Backing fabric- One piece each measuring 30” x 34”
Directions: ¼” Seam Allowance used throughout
Double-click the images for a larger view
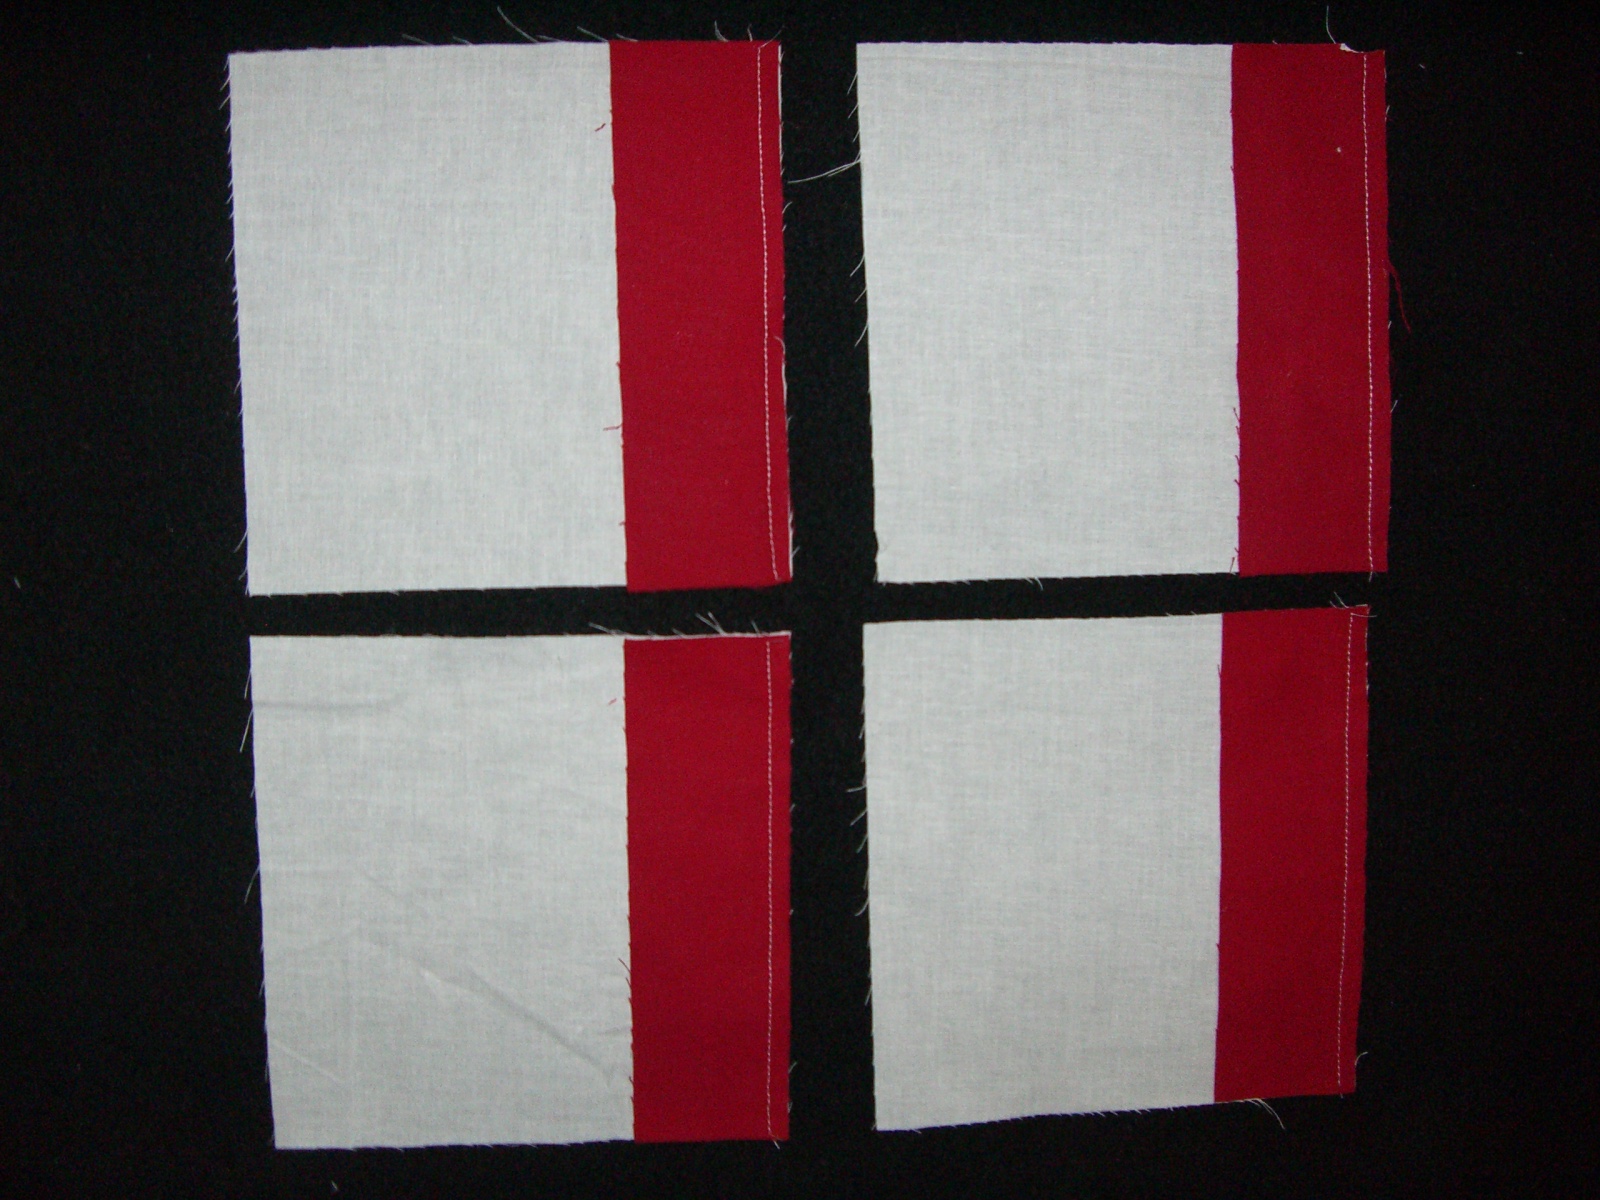
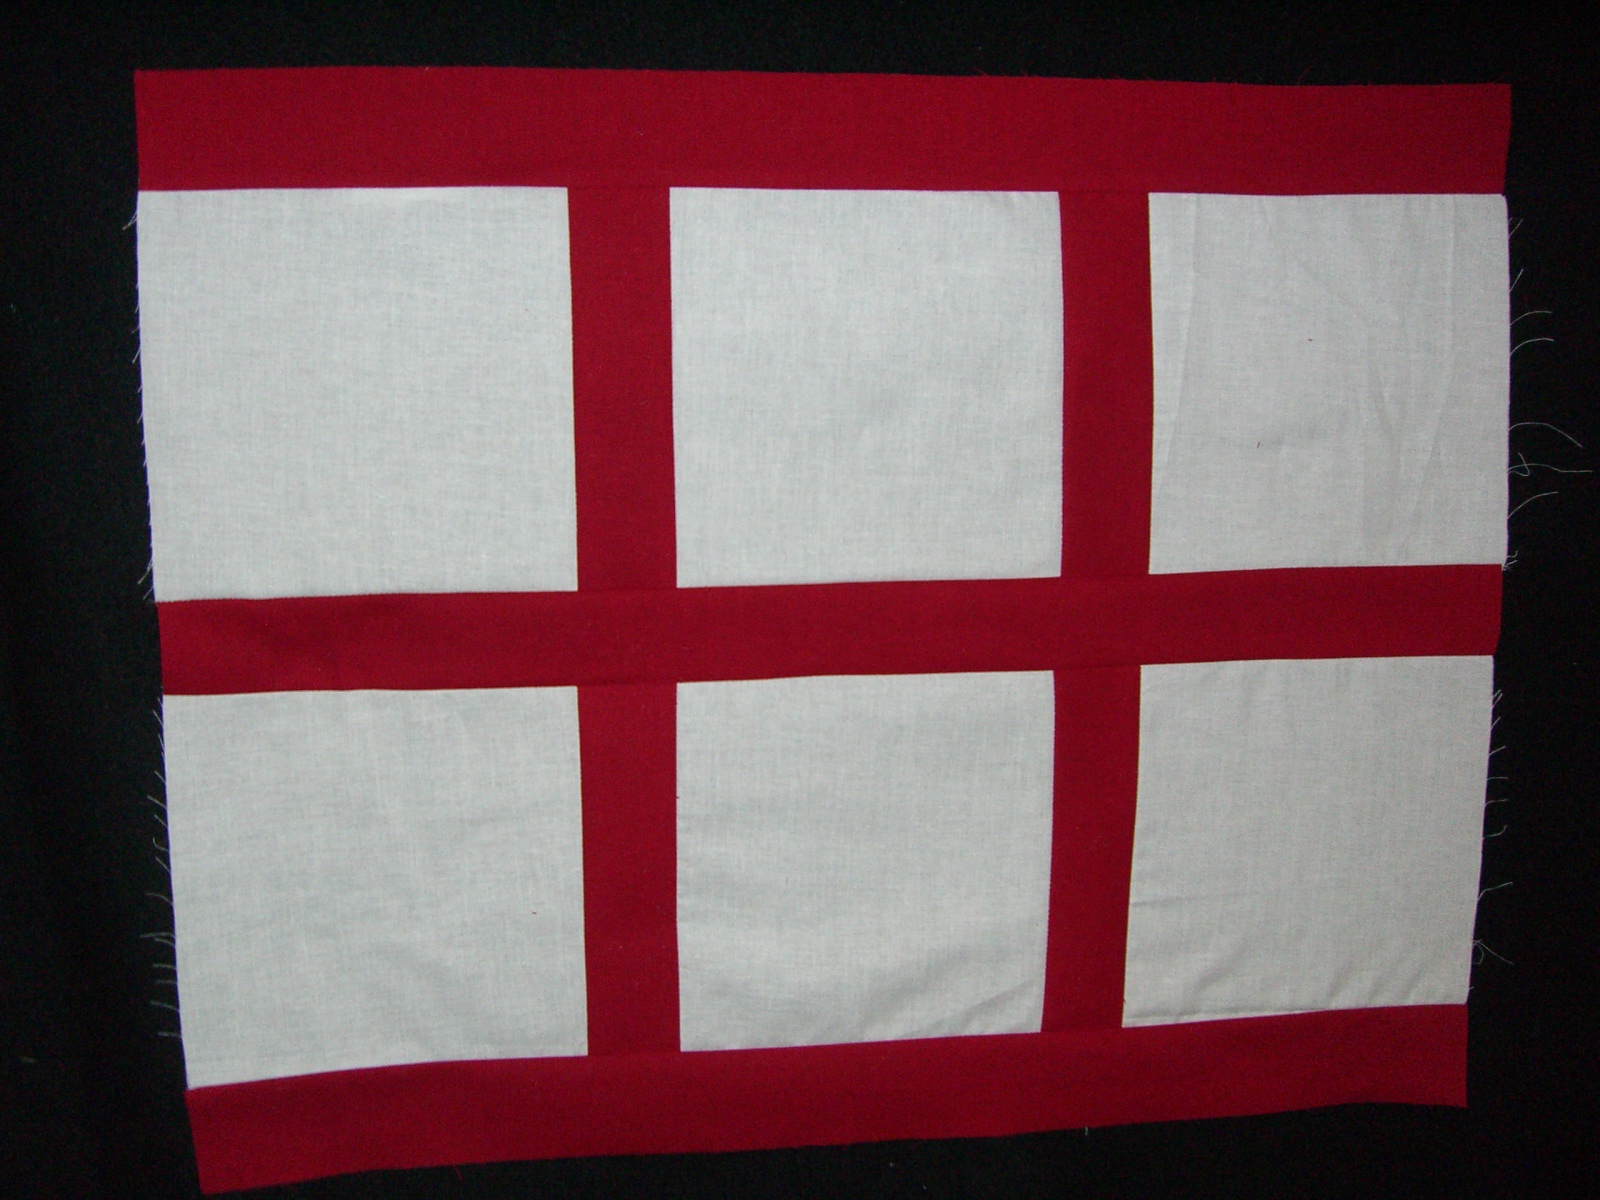
5. Sew a 17” inside border strip to each side of the block piece. Press seams.
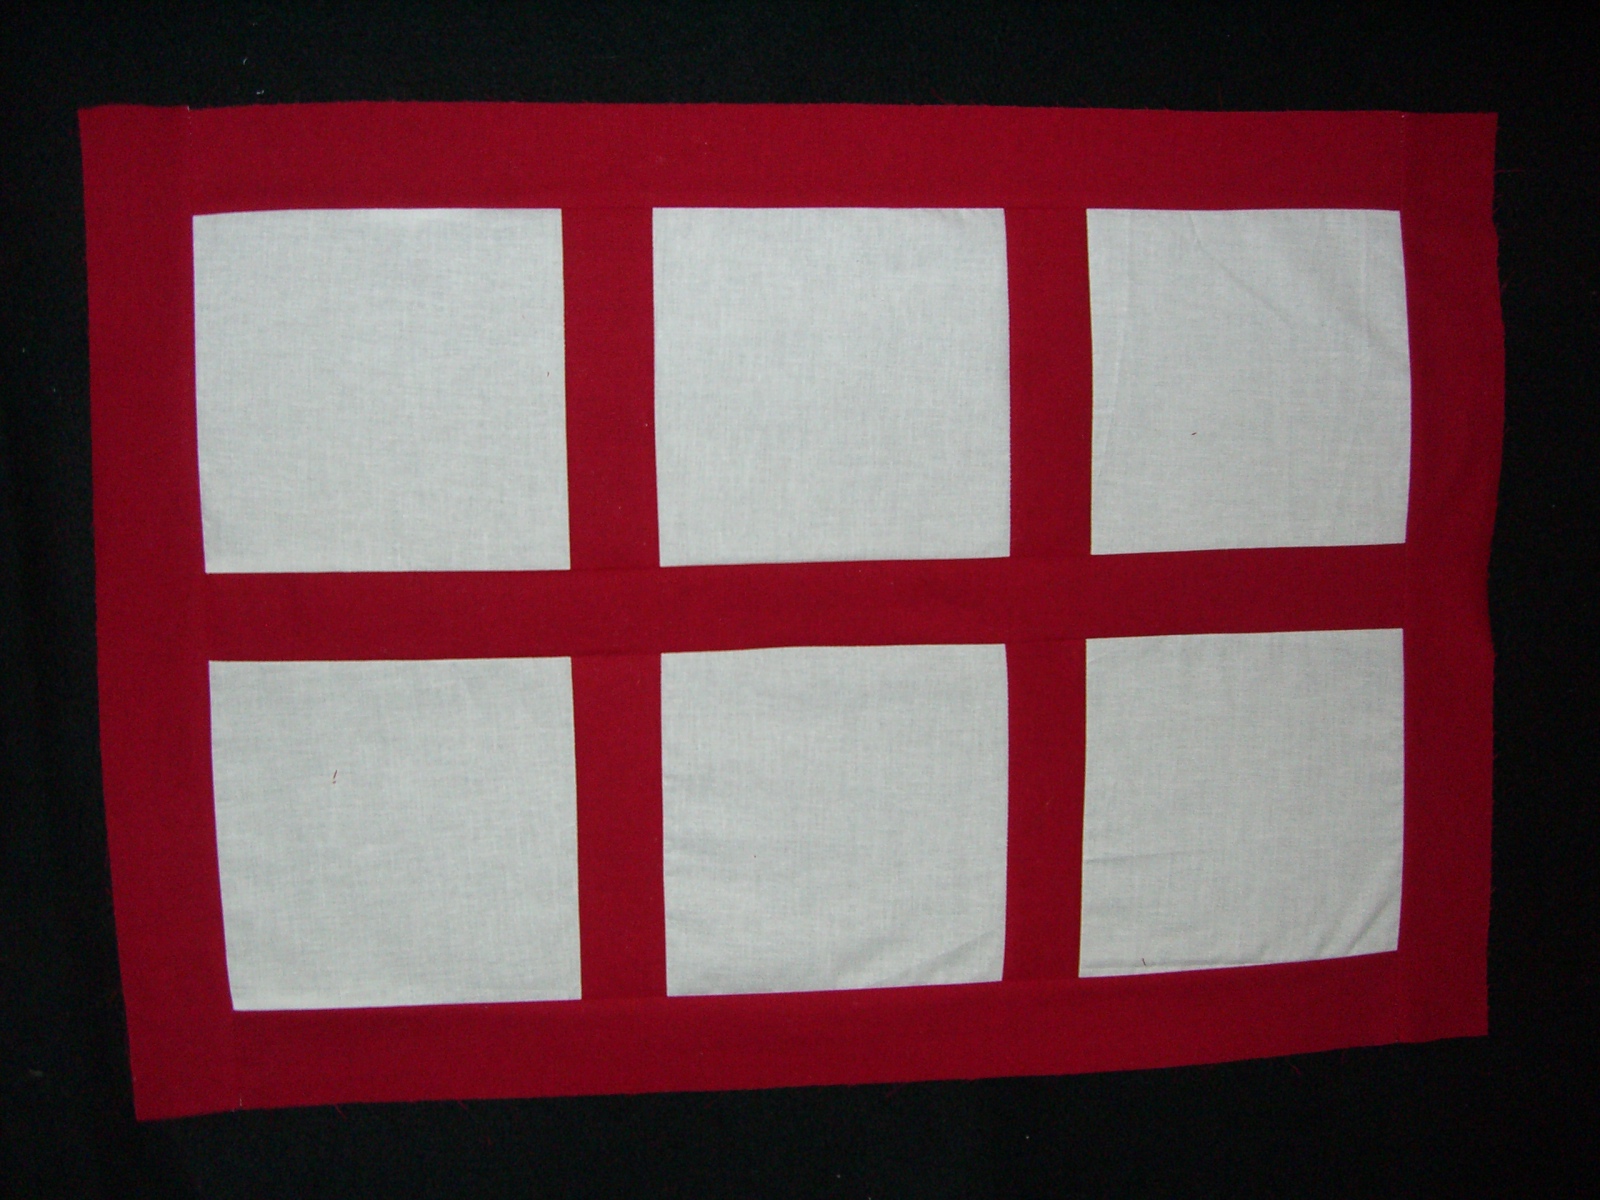
7. Sew a 4” x 27 ½” strip to the top and bottom of the block piece. Press seams.
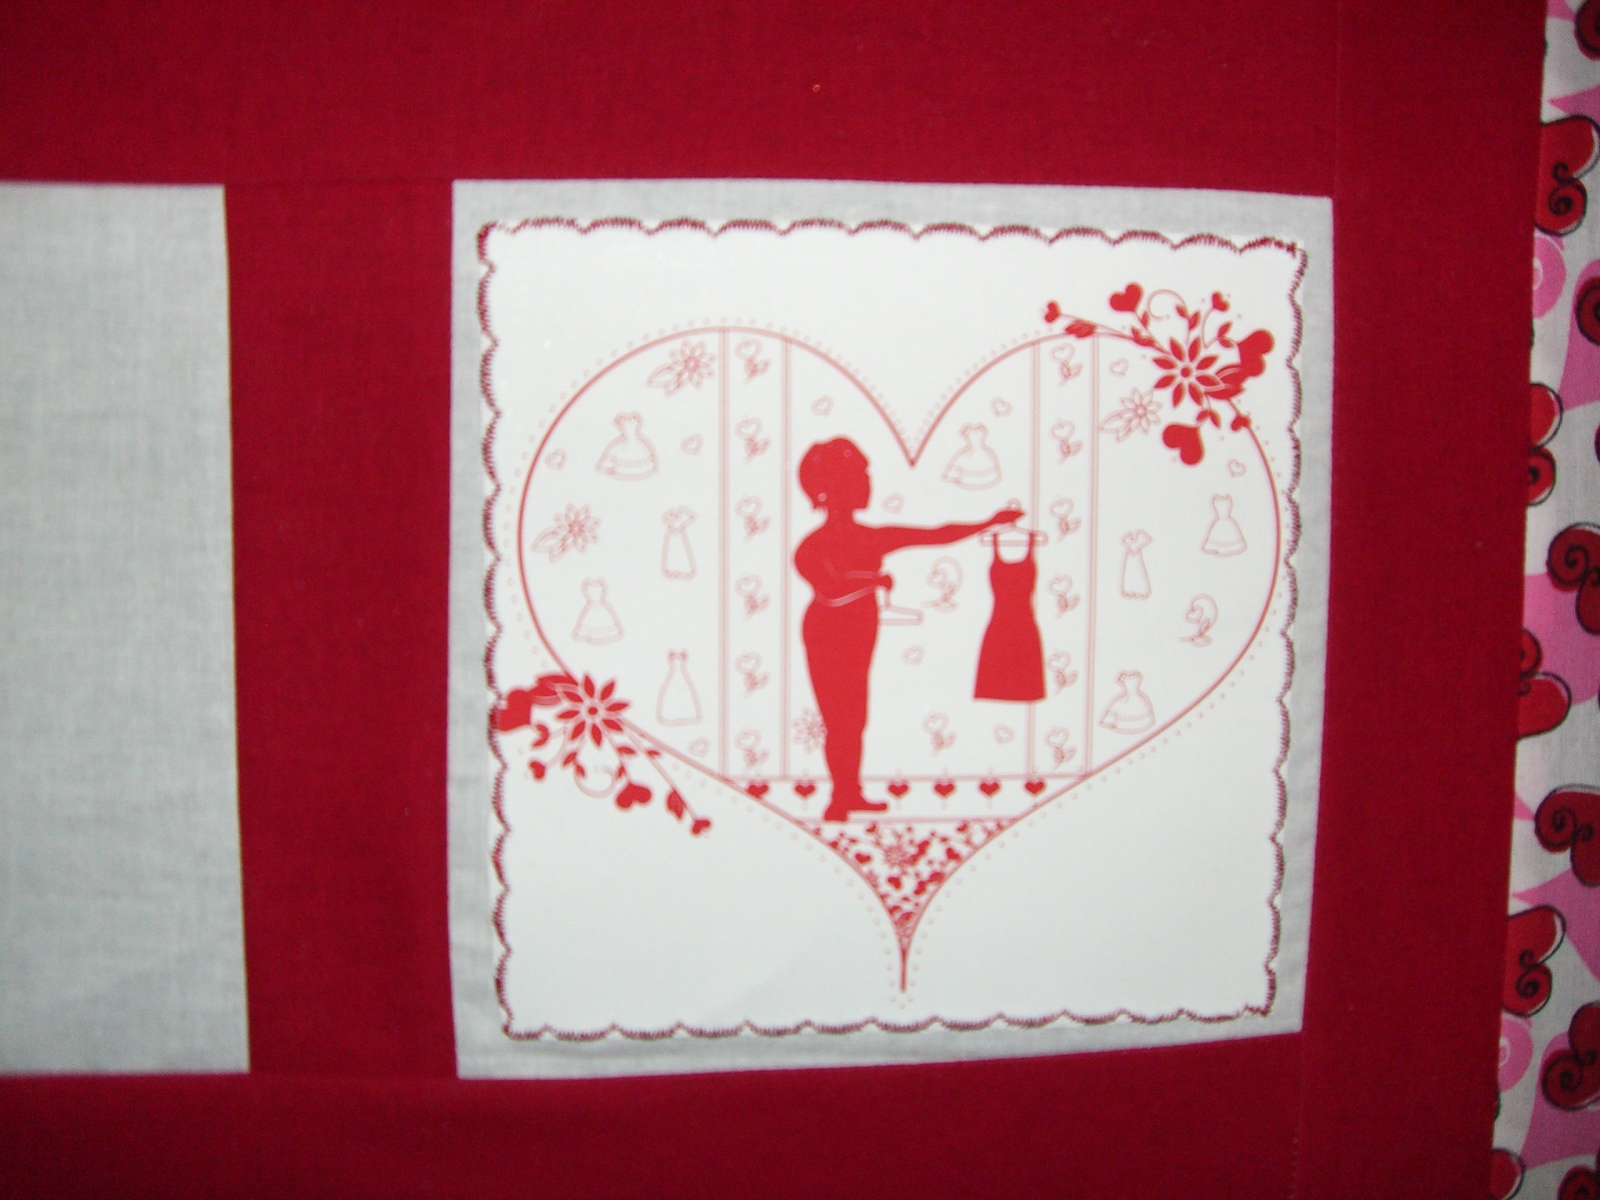
Add photos and machine embroidery before layering and quilting.
Adding the Photos: Following manufacturers directions on Quick Fuse package, print photos. Arrange photos so you can fit 3 or 4 on a single page. Since you will be cutting out the actual photo, you will not need to leave a border around the photo. Cut out photos and fuse in place on blocks. Add a decorative stitch around each photo. Photos are permanent and washable!
Quilting: Lay the backing fabric on a flat, pinning surface, wrong side up. Smooth the batting piece over it, lining up edges. Layer the quilt top next, right side up and centered on top of the batting.
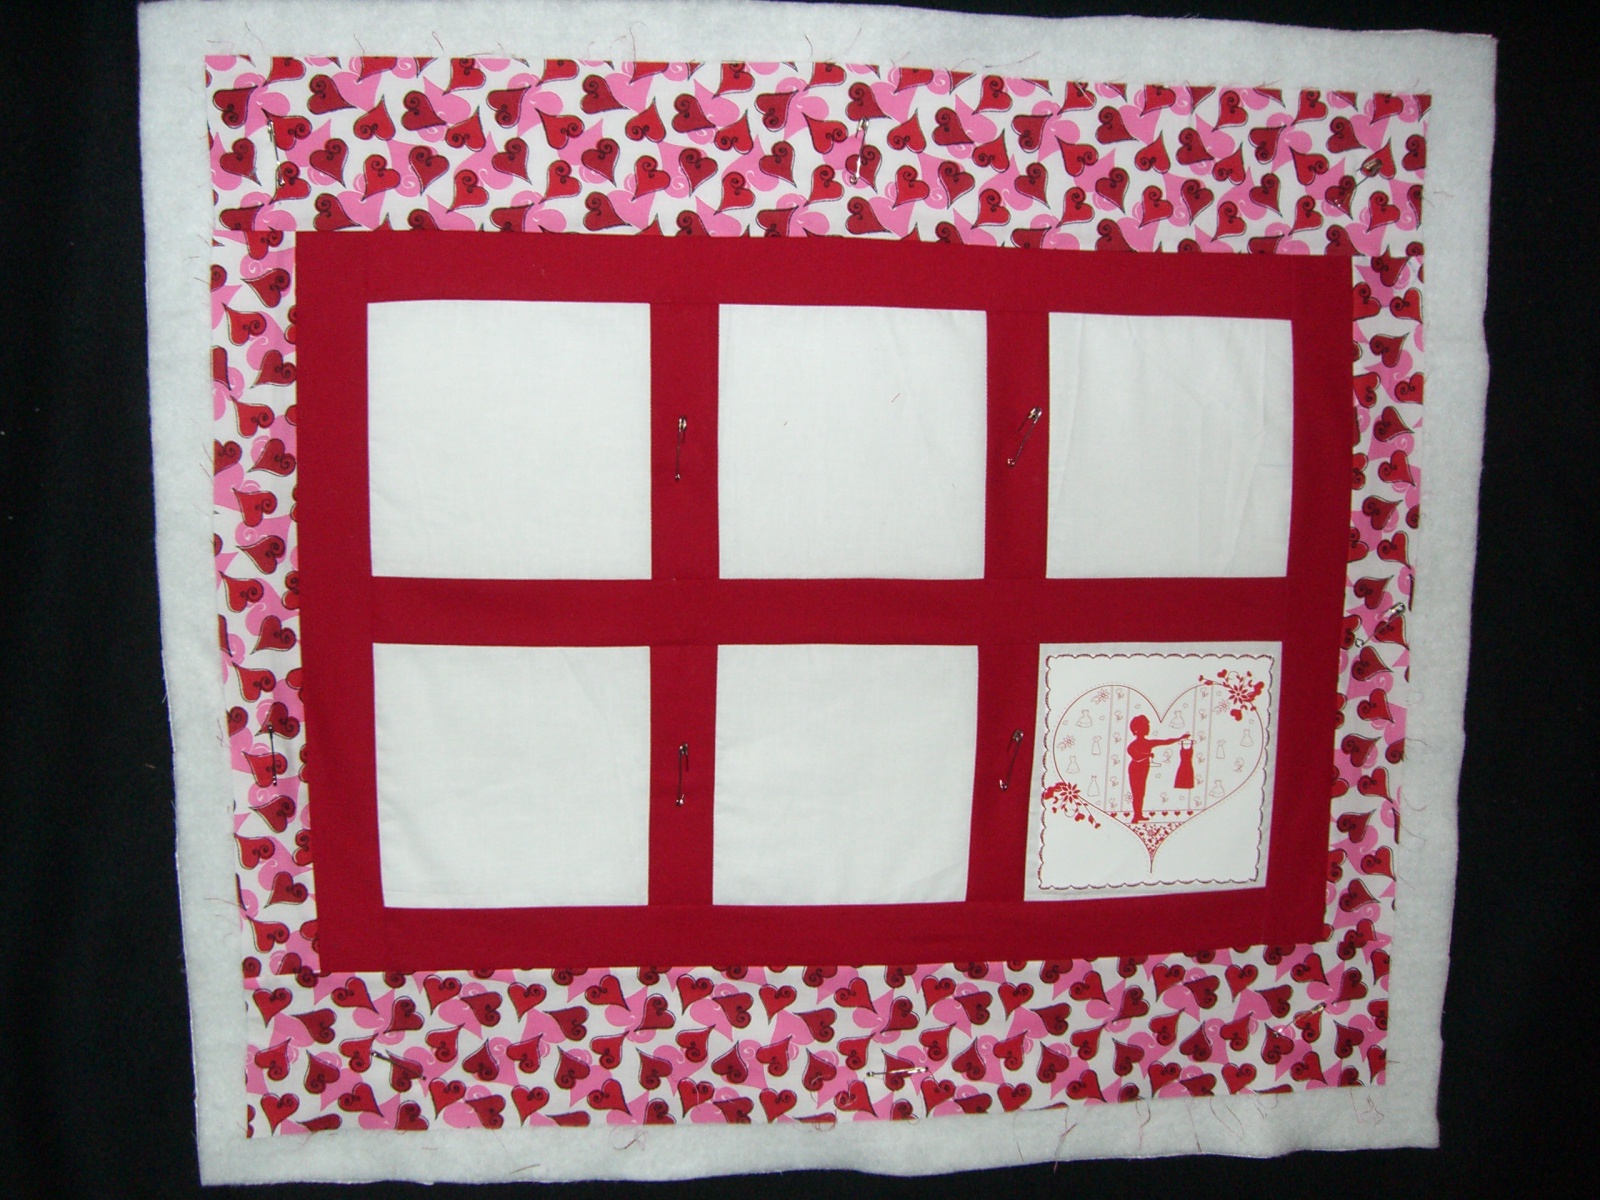
Pin in place. Stitch in the Ditch (stitching directly on the seams) around the photos, blocks and borders through all three layers (a Walking Foot is very helpful or reduce the foot pressure if possible). When finished quilting, trim the outside edges even with the quilt top.
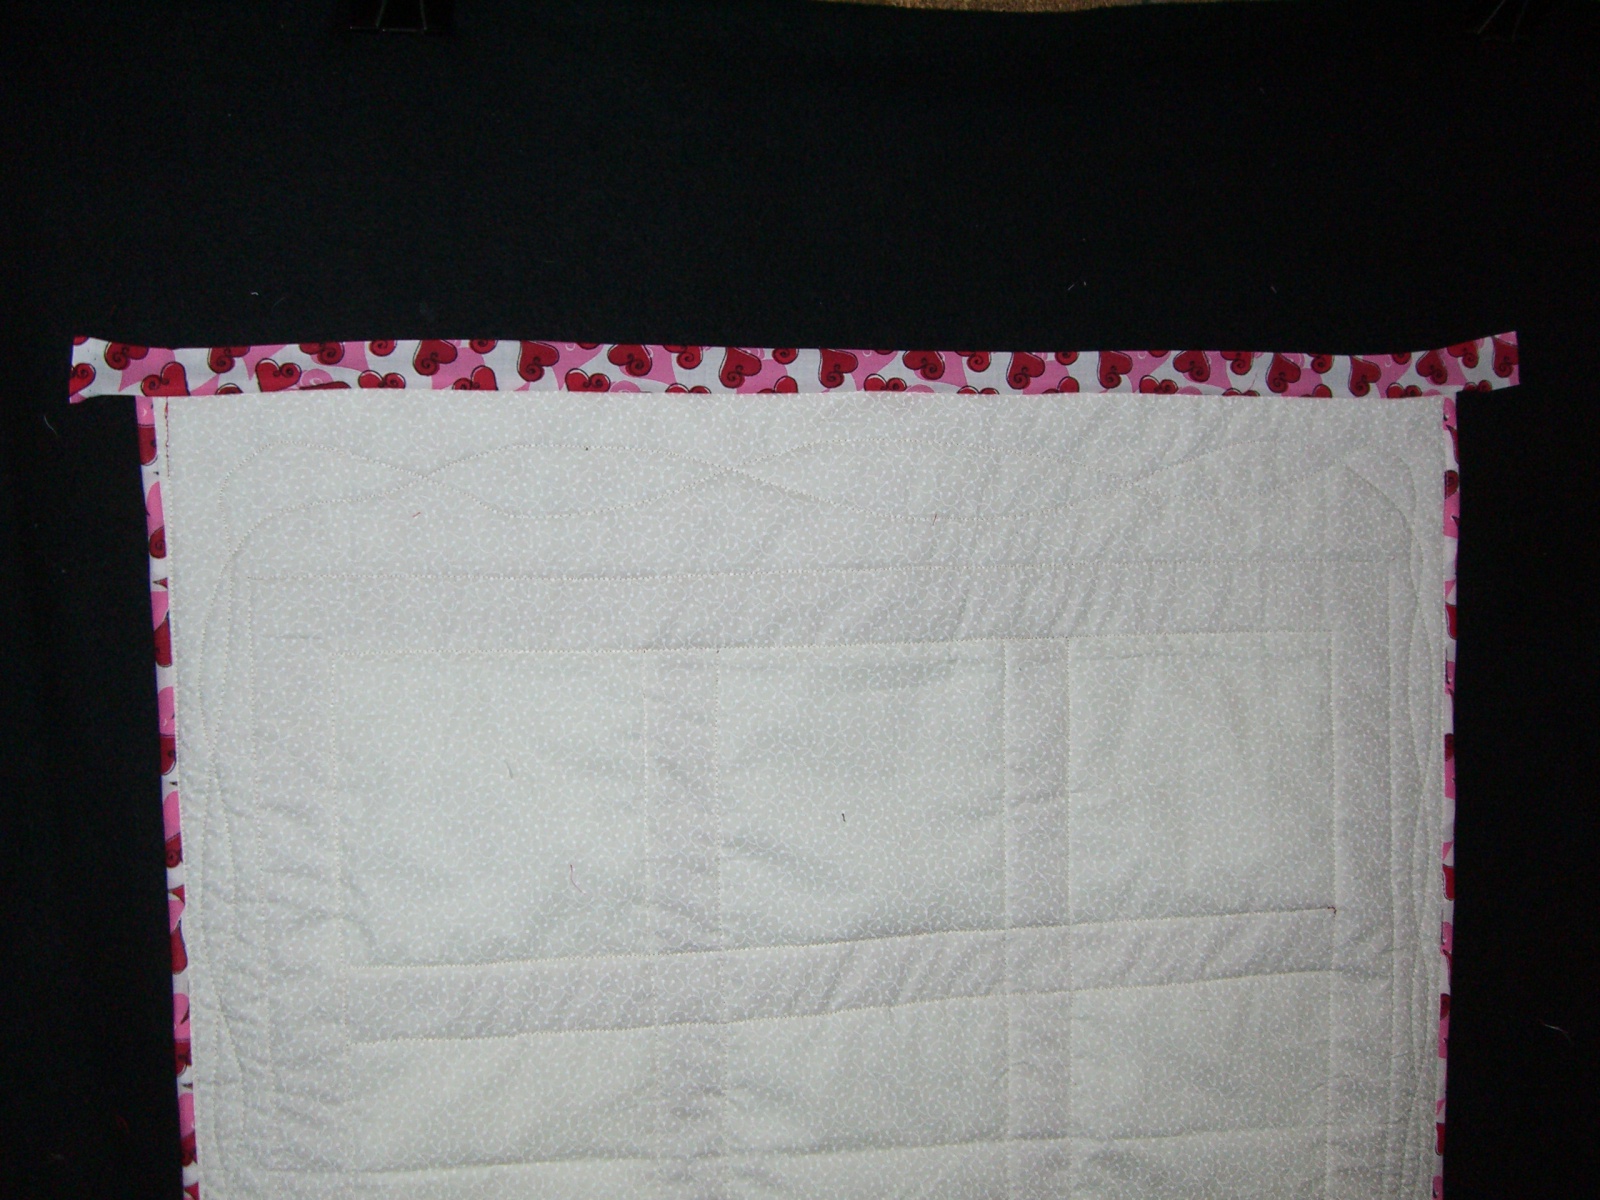
Adding the Binding: On each binding strip, fold one long edge over ¼” to wrong side of fabric and press.
Line up the right side, raw edge of one binding strip to the raw edge of quilt side BACK. Stitch in place ¼” from edge.
Repeat for other side. From the back of the quilt, open out binding and press up.
Bring folded edge of binding around to the front of quilt and pin in place.
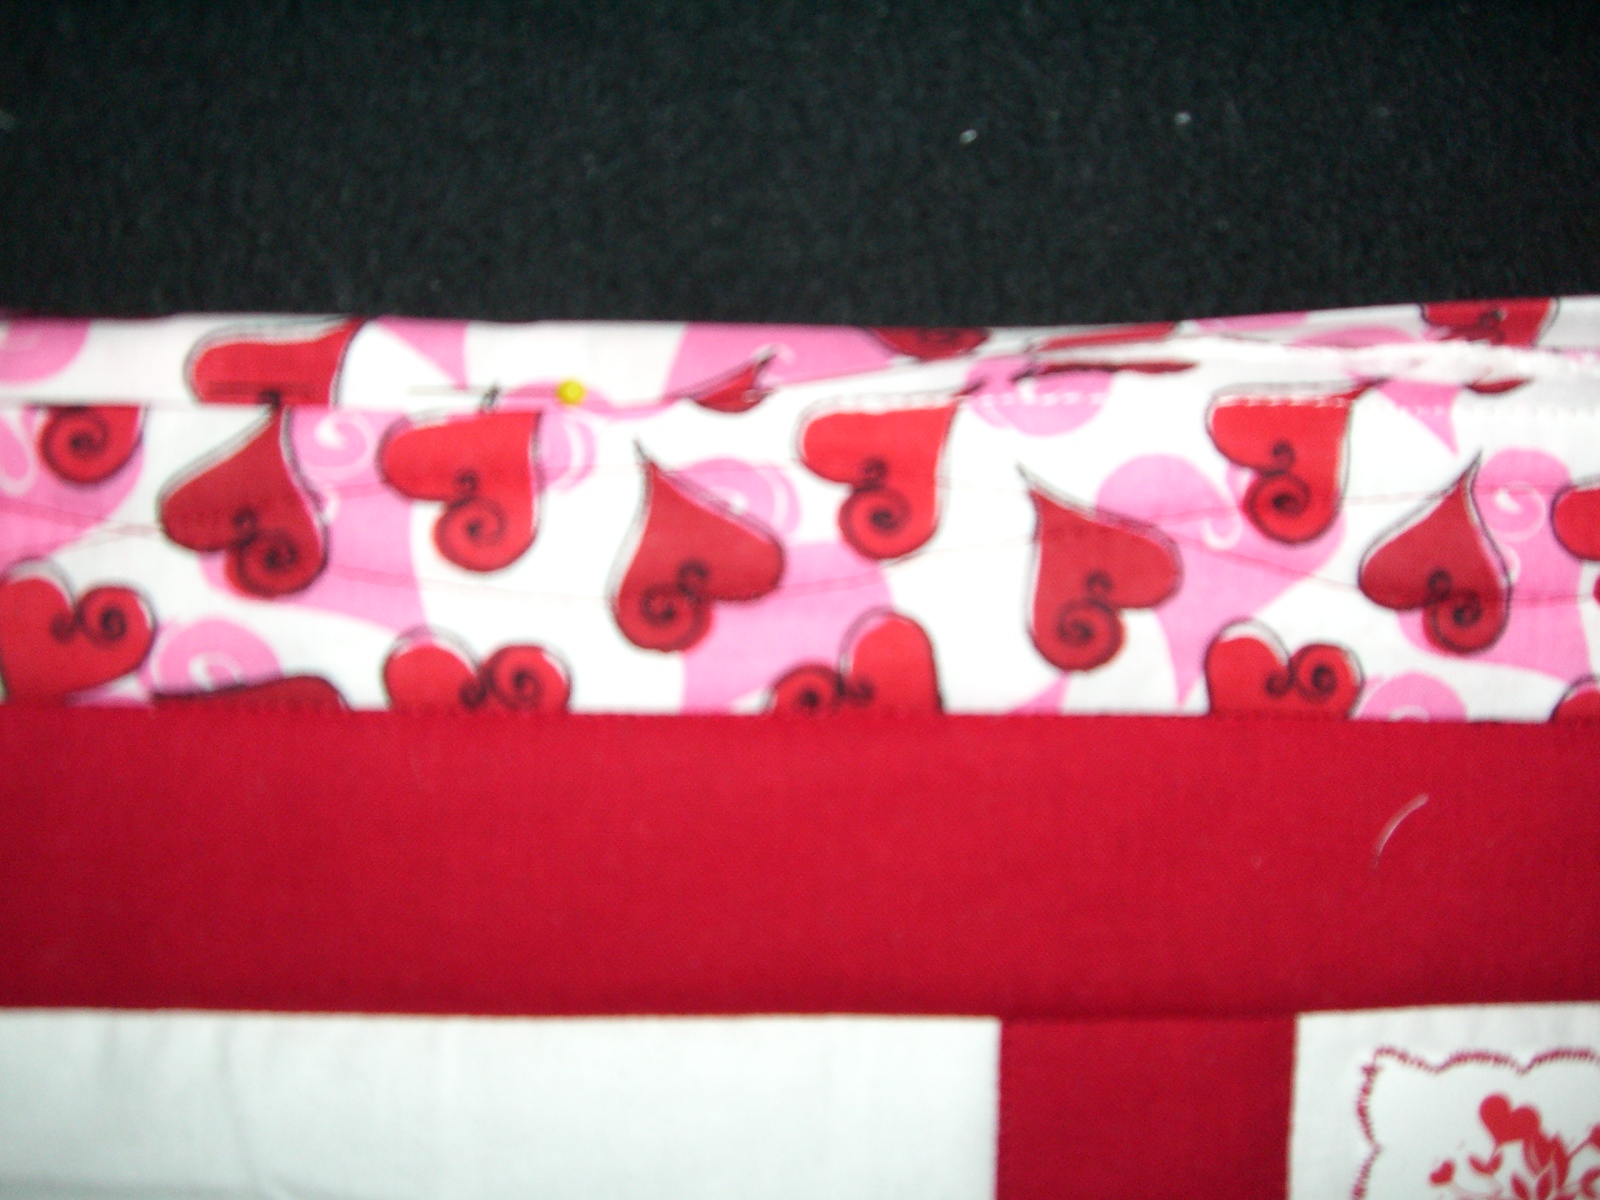
Top stitch on binding as close to the fold as possible. Trim ends even with quilt. For top and bottom binding, repeat the process but leave 1” of binding extending past the ends of the quilt.
Turn ends in before you bring the binding folded edge over to the front.
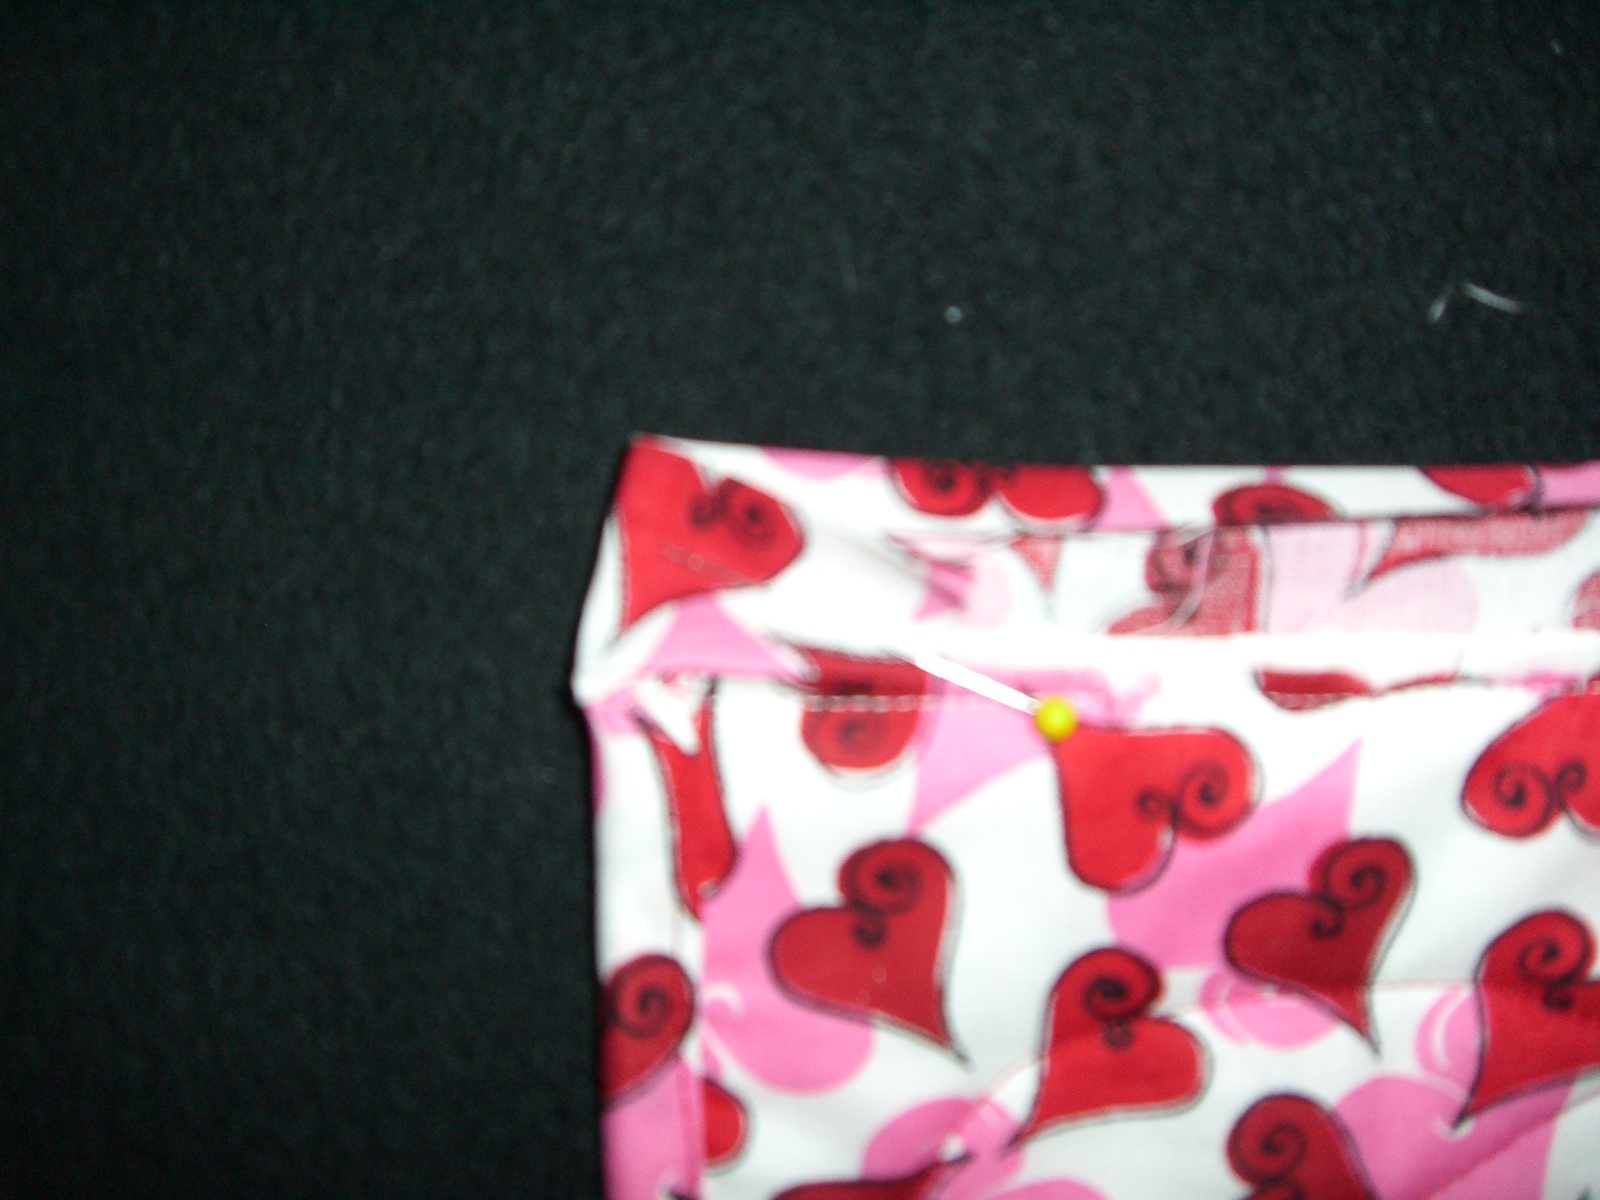
Pin and stitch
in place.
Other embellishment suggestions: Ribbons, laces, buttons and charms, appliqués and embroidery. Use a permanent marking pen for autographs!